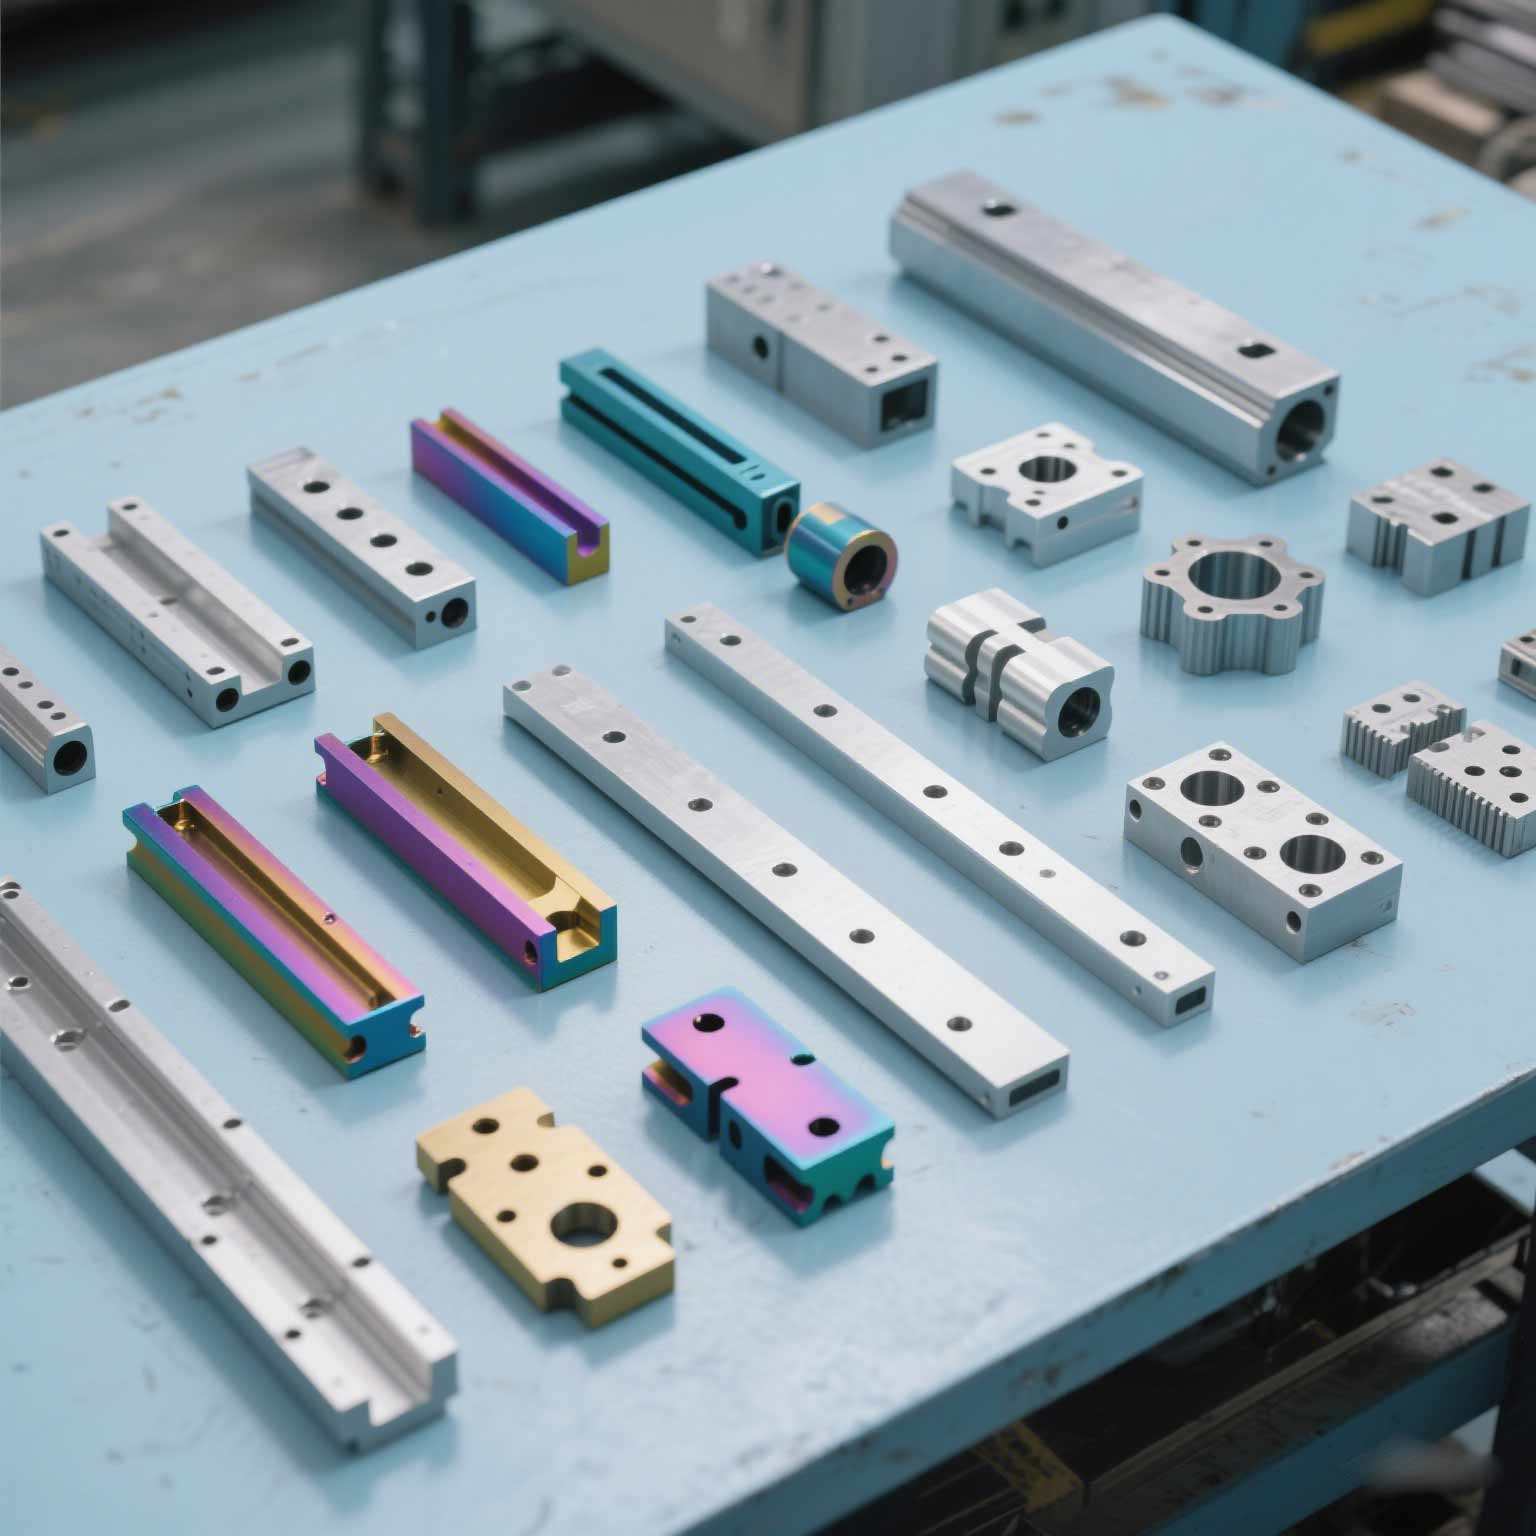
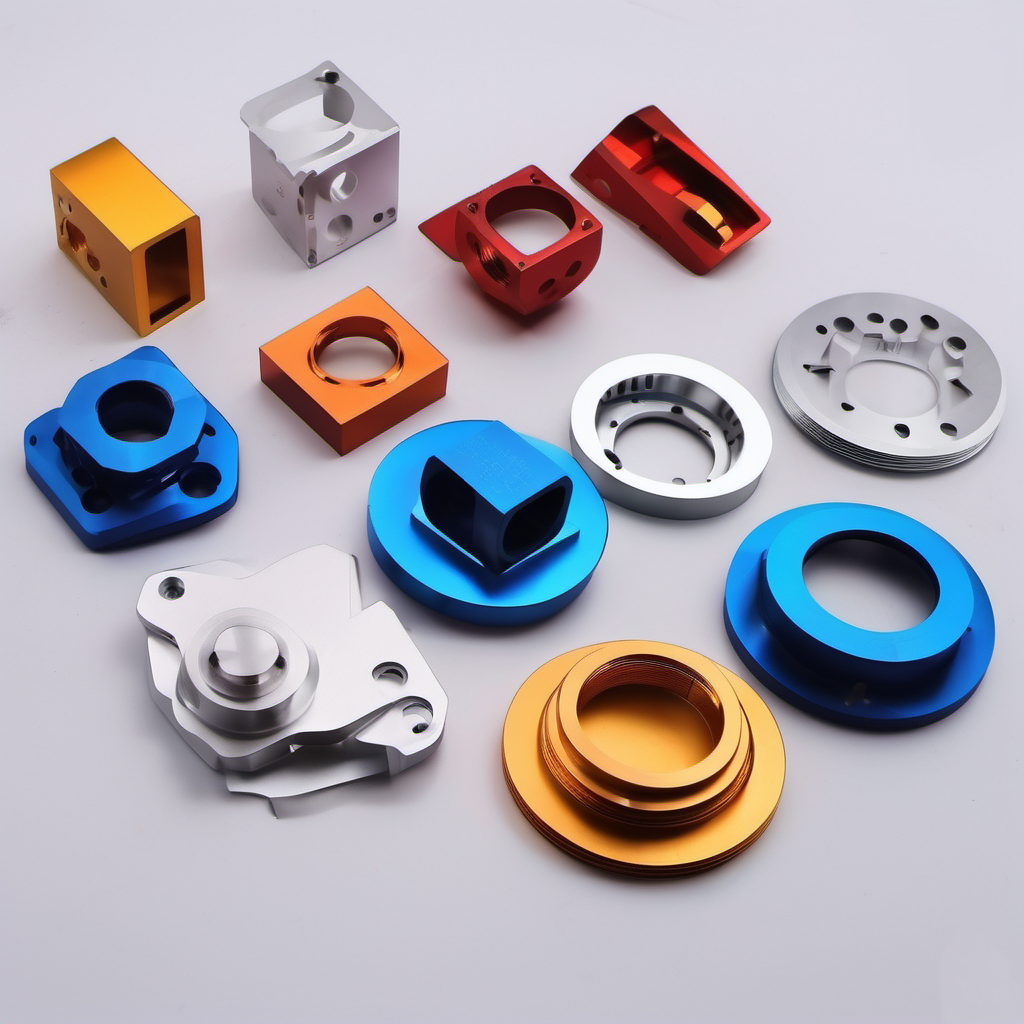
Hello! The core design principle for CNC milling small batches of parts (typically a few to hundreds of pieces) is to maximize machining efficiency, reduce costs, and shorten delivery cycles while ensuring functionality and quality. This differs from the strategies of mass production (focusing on absolute unit cost optimization) or prototyping (emphasizing speed, with cost as a secondary consideration).

CNC Milling Small Batch Parts: How Design Determines Cost, Efficiency, and Quality
For small batches of parts produced using CNC milling, design is crucial. It not only determines the function and appearance of the parts but is also a core factor influencing production costs, machining efficiency, and final product quality. The following key aspects will explain the importance of design in detail.
Cost Optimization
A well-designed system fully considers the process characteristics and manufacturing limits of CNC machining. Excellent design can minimize actual machining time, reduce unnecessary material waste, and avoid the use of complex and expensive special-purpose tools.
Using standardized functions and simple geometry can significantly reduce overall production costs. Optimizing part structure maximizes material utilization, especially when using expensive materials like titanium alloys and stainless steel.
Higher Precision and Quality
While CNC machining is renowned for its high precision, achieving stringent tolerances requires meticulous design planning. Considerations of dimensional chains, tolerance allocation, and datum systems during the design phase directly determine whether these precision requirements can be achieved cost-effectively.
Design also profoundly impacts final surface quality. A reasonable feature layout, appropriate machining allowances, and scientific toolpath planning all significantly influence surface finish. Material selection and heat treatment requirements should also be considered during the design phase.
Improved Flexibility and Speed
Small-batch CNC machining is ideal for prototyping and design verification. A well-thought-out design supports rapid design iterations and flexible functional modifications, significantly shortening development cycles.
Efficient design simplifies the entire manufacturing process, reducing unnecessary machining steps and clamping operations, thereby significantly shortening delivery cycles and accelerating time-to-market.
Reduced Risk
Small-batch production provides valuable design verification opportunities for large-scale manufacturing. Testing designs on a limited scale allows for the early detection of potential structural problems, manufacturing difficulties, or assembly interferences, avoiding costly modifications during later mass production.
This production model supports rapid design adjustments, adapting to changing market demands and promptly correcting defects discovered in early production, significantly reducing product development risks.

Practical Design Techniques for CNC Milling Small Batch Parts
Now, let's delve into some practical design techniques specifically for CNC milling small batch parts. These manufacturing-oriented design principles will help you achieve optimal results in parts production.
Avoid Sharp Internal Corners
When designing parts for CNC milling, the treatment of internal corners is a crucial aspect that requires special attention. Due to the inherent cylindrical shape of CNC milling cutters, machining perfectly sharp internal corners is virtually impossible.
Limitations of Tool Geometry
CNC milling relies on rotating cutting tools for material removal, and the natural motion trajectory of these tools creates an arc-shaped cutting path. Therefore, any internal corner machined by milling will have a rounded feature with a certain radius. This means that even if a sharp corner is marked on the design drawings, the actual machined part will have a small fillet corresponding to the size of the tool used.
Challenges of Sharp Corners
Machinerying sharp internal corners typically requires cutting tools with very small diameters. These tools have poor rigidity, are prone to breakage, and have low material removal efficiency, leading to increased machining time and costs. Achieving near-sharp corners may require special tools, additional finishing processes, or even manual finishing, all of which significantly increase production costs.
From an engineering mechanics perspective, sharp corners easily form stress concentration areas. When a part is under load, stress accumulates at these sharp corners, increasing the risk of part failure. Furthermore, when machining internal corner areas, sudden changes in tool direction can lead to repeated chip cutting, tool overload, and difficulties in chip removal, all of which negatively impact machining quality.
Best Practices
The most effective solution is to plan appropriate fillet radii for internal corners during the design phase. This not only simplifies the machining process but also improves the structural integrity of the part. Maintaining consistency in the internal fillet radii minimizes tool changes and further optimizes manufacturing efficiency.
When sharp internal angles are indeed required in the design, special processes such as electrical discharge machining (EDM) can be considered. Simultaneously, it's advisable to assess whether the need for sharp angles can be avoided by modifying the design of the mating parts. In situations where sharp-angled mating parts must be accommodated, "dog-bone" or "T-shaped" fillet designs can provide the necessary assembly clearance.
Optimal Wall Thickness Recommendations
For CNC milling of small batches of parts, a reasonable wall thickness design is a key factor in ensuring structural strength, machining stability, and cost control.
The Importance of Sufficient Wall Thickness
Appropriate wall thickness provides the necessary structural integrity for the part. Thin-walled structures are more prone to deformation under stress, which is especially critical for components subjected to dynamic loads or vibrations. Insufficient wall thickness can lead to premature part failure, affecting the overall product reliability and service life.
During CNC milling, sufficient wall thickness provides the necessary rigidity to resist cutting forces and prevent vibration and deformation during machining. This directly affects machining accuracy, surface quality, and tool life. Determining the wall thickness also requires consideration of material properties; different materials have different wall thickness requirements due to differences in strength, stiffness, and machinability.
General Design Guidelines
For most metallic materials, a minimum wall thickness of 0.8 mm is recommended, providing a good balance between strength requirements and machinability. However, for larger parts or parts with higher load-bearing requirements, a slightly thicker wall thickness may be necessary.
Plastic materials generally require thicker walls than metals; 1.5 mm can be a good starting point for general design. Different types of plastics have significantly different properties; brittle plastics may require a more conservative wall thickness design.
Comprehensive Considerations
The overall size and geometric complexity of the part will influence the choice of wall thickness. Large or complex-shaped parts typically require a more conservative design. The expected working load and stress environment should also be fully considered during the design phase. Furthermore, the mechanical properties and machinability of the material used need to be understood, as these will affect the final wall thickness decision.
Minimize Undercuts and Complex Features
Undercuts and complex geometries significantly increase the difficulty and cost of CNC milling and should be avoided or simplified as much as possible during the design phase.
Challenges Faced
Machining undercut features typically requires specialized tools (such as T-slot cutters) and complex machining strategies, which increases machining time and costs. Complex 3D surfaces and irregular structures often require multi-axis CNC machine tools for machining, which have higher programming and operating costs.
Clamping complex parts typically requires the design of specialized fixtures, increasing preparation time and manufacturing costs. Special geometries may necessitate lower cutting parameters, further extending machining time.
Simplifying Design Strategies
The most effective approach is to simplify the part structure from the design stage, eliminating unnecessary complex features. For parts requiring complex geometry, consider breaking them down into multiple simpler sub-parts, machining them separately, and then assembling them.
Sometimes, simply adjusting the orientation or position of features can avoid undercut machining. Early communication with machining technicians can yield valuable manufacturability advice, preventing later modifications.
When conventional milling struggles to achieve certain features, alternative processes such as electrical discharge machining (EDM) and 3D printing can be considered. Simultaneously evaluate the part's assembly method; sometimes changing the assembly strategy can simplify the machining of individual parts.
Best Practices for Document Preparation (STEP, IGES): Accurate and complete engineering documents are the foundation of successful manufacturing; document quality directly impacts the precision and quality of the final product.
File Format Selection: STEP format is the current international standard for 3D data exchange. It can completely and accurately express information such as solid models, surfaces, and assembly structures, with a low risk of information loss during data conversion. IGES, as an earlier graphics exchange standard, is still used in the industry, but data loss may occur when processing complex geometry, especially the complete preservation of solid model information.
File Preparation Points: Regardless of the format used, the geometric integrity and accuracy of the 3D model should be ensured. Detailed 2D engineering drawings are required to complement the 3D model, clearly annotating all critical dimensions, tolerance requirements, surface treatment specifications, and special process descriptions.
Reasonable Hole Design: The reasonable design of holes directly affects the functional realization and manufacturing efficiency of parts, and is a crucial aspect that requires special attention during the design process.
Design Considerations: Hole design should first meet its functional requirements, whether for connection, positioning, or fluid passage. Manufacturing economy needs to be fully considered during the design phase; the size, depth, and accuracy requirements of holes all affect machining costs. Using standard-sized holes as much as possible can reduce the need for special tools and improve machining efficiency.
Best Practices for Design
Prioritize standard drill bit sizes for hole diameters. This avoids custom tooling, reducing costs and setup time. Control hole depth appropriately; excessively deep holes require special processes. It's generally recommended that the hole depth not exceed 4-5 times the hole diameter.
For threaded holes, sufficient space should be left at the bottom of blind holes for tapping. Thread depth typically does not need to exceed 1.5 times the hole diameter; excessively deep threads do not significantly increase connection strength. Tolerances should be reasonable and moderate; overly strict tolerance requirements will significantly increase machining difficulty and cost.
Conclusion
In summary, mastering these design techniques and principles will help you create reliable, cost-effective CNC milling parts. Following a manufacturing-oriented design philosophy can minimize obstacles in the production process, shorten product development cycles, and ensure that design intent is accurately and efficiently translated into the final product.
Whether it's prototyping a new product or producing small batches of parts, these design considerations can strongly support your manufacturing goals. Through careful design and reasonable planning, you can maximize cost control and production efficiency while ensuring quality, laying a solid foundation for product success.


